This is just a list for my own benefit to keep track of the contents of my various Raspberry Pi SD Cards.
I am creating this post so that I may know what is on each of my SD Cards, without having to boot them using the RasPi.
I am forever formatting, installing, updating, upgrading, and reformatting each card, as I am not able to determine what OS (and which version) is on each card (several of the cards look identical), which projects I have attempted on each card, at what stage each of the projects is up to, and what the plan is for each card.
Dick Smith 8gig Labelled 1: Raspbian 20.12.13 – Setup for projects on the PiDish break-out board (Shut down switch: currently)
(Do this from the Command Line environment rather than from within X using the LDXE Terminal Emulator. I had heaps more success doing it from the real CLI using sudo than with the emulator)
Next, make sure the following modules are NOT blacklisted within: raspi-blacklist.conf
sudo nano /etc/modprobe.d/raspi-blacklist.conf
If they are blacklisted out, like this:
blacklist spi-bcm2708
blacklist i2c-bcm2708
Comment out these two entries (like the below) and save/exit the file.
# blacklist spi-bcm2708
# blacklist i2c-bcm2708
Also make sure that you have installed the i2c libraries and python support with:
First, grab GIT (should already be part of the newest Raspbian images):
sudo apt-get install git-core
Next, update and RasPi:
sudo apt-get update && sudo apt-get upgrade
Obtain WiringPi using GIT:
git clone git://git.drogon.net/wiringPi
Then:
cd wiringPi
git pull origin
And finally, build and install using the script (note, WiringPi’s author warns that this script makes use of the “superuser” account, therefore, please feel free to inspect the content of ./build before you trust it with God-Like powers on your Pi).
cd wiringPi
./build
Once installed, you can check the installation with the following commands for Version number and gpio pin status:
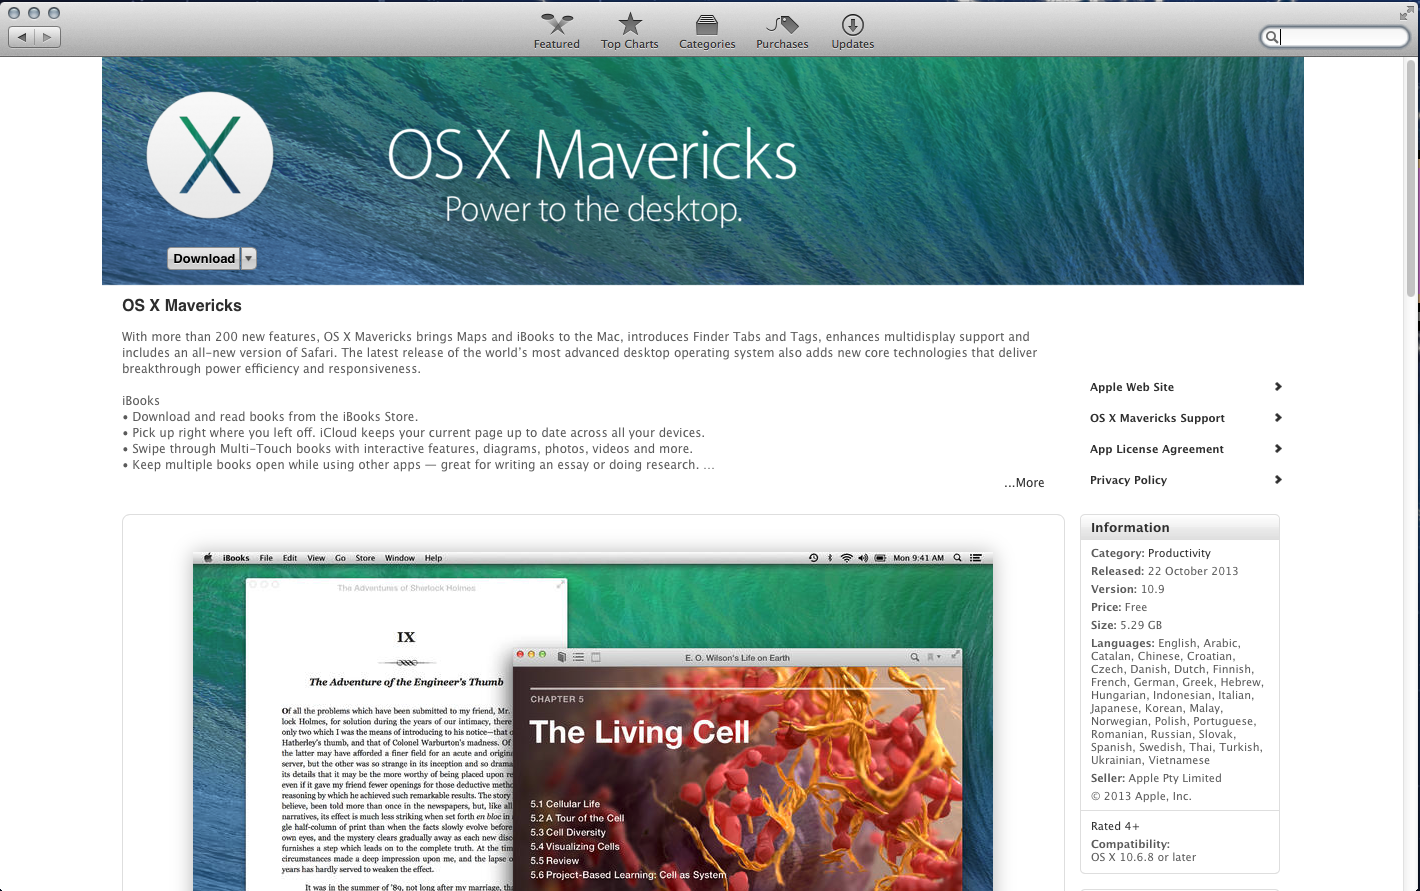
This is just a small post to highlight that I have updated the site to include a specific page for Apple/OSX information.
My latest addition to this page details the method I used to create a bootable recovery USB for OSX 10.9 Mavericks.
No, I didn’t research how to do this because I am bored or have nothing better to do……after I updated OSX to Mavericks 10.9, and Ubuntu to 13.10, some aspect of the process fried my partition table which systematically resulted in a failure to boot anything other than OSX despite trying multiple methods of repairing the partition table/EFI using gdisk and rEFInd among several other techniques. Needless to say, nothing worked and in the process of deciding to delete the Ubuntu and Windows 7 partitions to start again (by installing fresh versions of Ubuntu 13.10 and Windows 8.1), I accidentally wiped the OSX recovery partition.
Anywho, that left me in the unenviable position of having a MacBook with NO RECOVERY CAPACITY in case I did anything else stupid to my partitions or my partition tables.
One thing lead to another, and I researched a way of creating an external OSX Mavericks USB recovery drive, which when tested, worked flawlessly and in exactly the same manner as my original MacBook recovery partition.
So, anyone with a recent MacBook who tinkers with partitions and partition tables SHOULD CREATE A RECOVERY USB FOR OSX, just in case they find themselves without a bootable version of OSX or a bootable OSX recovery partition/tool.
I’m posting this is because every time I wipe my PC, I have a nightmare figuring out how to re-install my beloved Logitech F710.
(The official support site for the F710 Gamepad is here, but be aware, I find it to be of limited use!)
Step 1 – Ensure that fresh batteries are in your Logitech Gamepad F710.
Step 2 – Place the F710’s receiver in a spare USB port on the computer, preferably one that is NOT in close proximity to any other RF interference (other wireless USB devices receivers, WiFi antennas etc). Mine works much better when used in conjunction with the USB-extender cable that came with the gamepad (just to ensure that the receiver is far enough away from any RF interference that the MacBook is putting out).
Step 3 – Install the Logitech Gaming Software/Profiler from the Logitech F710 support site linked above (as far as I can tell, this software doesn’t help install your F710 in any way, shape or form with regards to drivers etc……. although, it can be useful in testing your gamepad following installation to ensure the buttons/sticks/functions are all operating correctly).
Step 4 – For Windows 8: Go to your Desktop and right click the hidden “USB/Safely Remove Hardware” icon in the task bar and select “Open Devices & Printers”, find the F710 (which Windows will tell you the driver is missing for), and open up “Properties”. For Windows 7: Go to Control Panel – Hardware & Devices – Device Manager: then highlight the F710 within the Device Manager and select “Properties”. (In Windows 8: Do not try to open the Device Manager using the Right-of-screen “Settings” or “Devices” menu, although this seems logical, it WILL lead you on a wide goose chase to nowhere particularly useful for installing devices)
Step 5 – Once you have the F710’s device properties tab open, go to the Hardware tab, and again select Properties. Go to General, and click the “Change Settings” button and approve the UAC (User Account Control) request. Once the F710 panel opens up again, select the Driver tab, and click the Update Driver button.
Step 6 – Once the new panel opens up, select “Browse my computer for driver software”, and then “Let me pick from a list of device drivers on my computer”.
Step 7 – Navigate Windows to the Windows/xBox 360 Wired Controller driver and install that despite any warnings Win7/8 may throw up.
Step 8 – Allow windows to complete the installation of the F710 using the xBox Wired Controller driver, and then test the device using the Logitech Profiler software.
Yes, yes, I know…..its a painful process, and in 2013 it should be simpler than that, but this is the quickest and most efficient method I have found to install the F710, and trust me, I have spent several hours every six months following a system-wipe trying to install this device.
Next up………………How to install the F710 in Ubuntu 13.04/13.10!
-Update 29 Jan 2015
In Windows 8.1
Recently, I’ve been experimenting with the Logitech F710 Wireless Gamepad with Windows 8.1 running in a Parallels Desktop 10.1.2 on the Mac and I have not needed to manually install any special drivers in the manner detailed above. For the first time since I bought the F710 (in early 2013), the device has just installed itself automatically when set to the “X” setting on the front of the device (inbetween the two trigger buttons).
In Mac OSX 10.10 Yosemite
Since I’ve installed the Steam desktop client on the Mac partition, I have also been playing a few of the games using the F710 directly in the Mac OS without issue. Using this “one weird tip discovered by a mom” (as the lame internet banner ads remark), I’ve found that the F710 works flawlessly without any need for driver installation or configuration:
Make sure the F710 is set to “D” on the front switch between the triggers (opposite to Windows which uses “X”)
With the controller’s nano TX/RX dongle unplugged, press & hold the Logitech button (centre top) while you insert the receiver into a free USB on the Mac
To check the installation, navigate to ABOUT THIS MAC -> SYSTEM REPORT, where you should see the F710 listed as “Logitech Cordless Rumblepad 2” (or similar) under USB hardware.
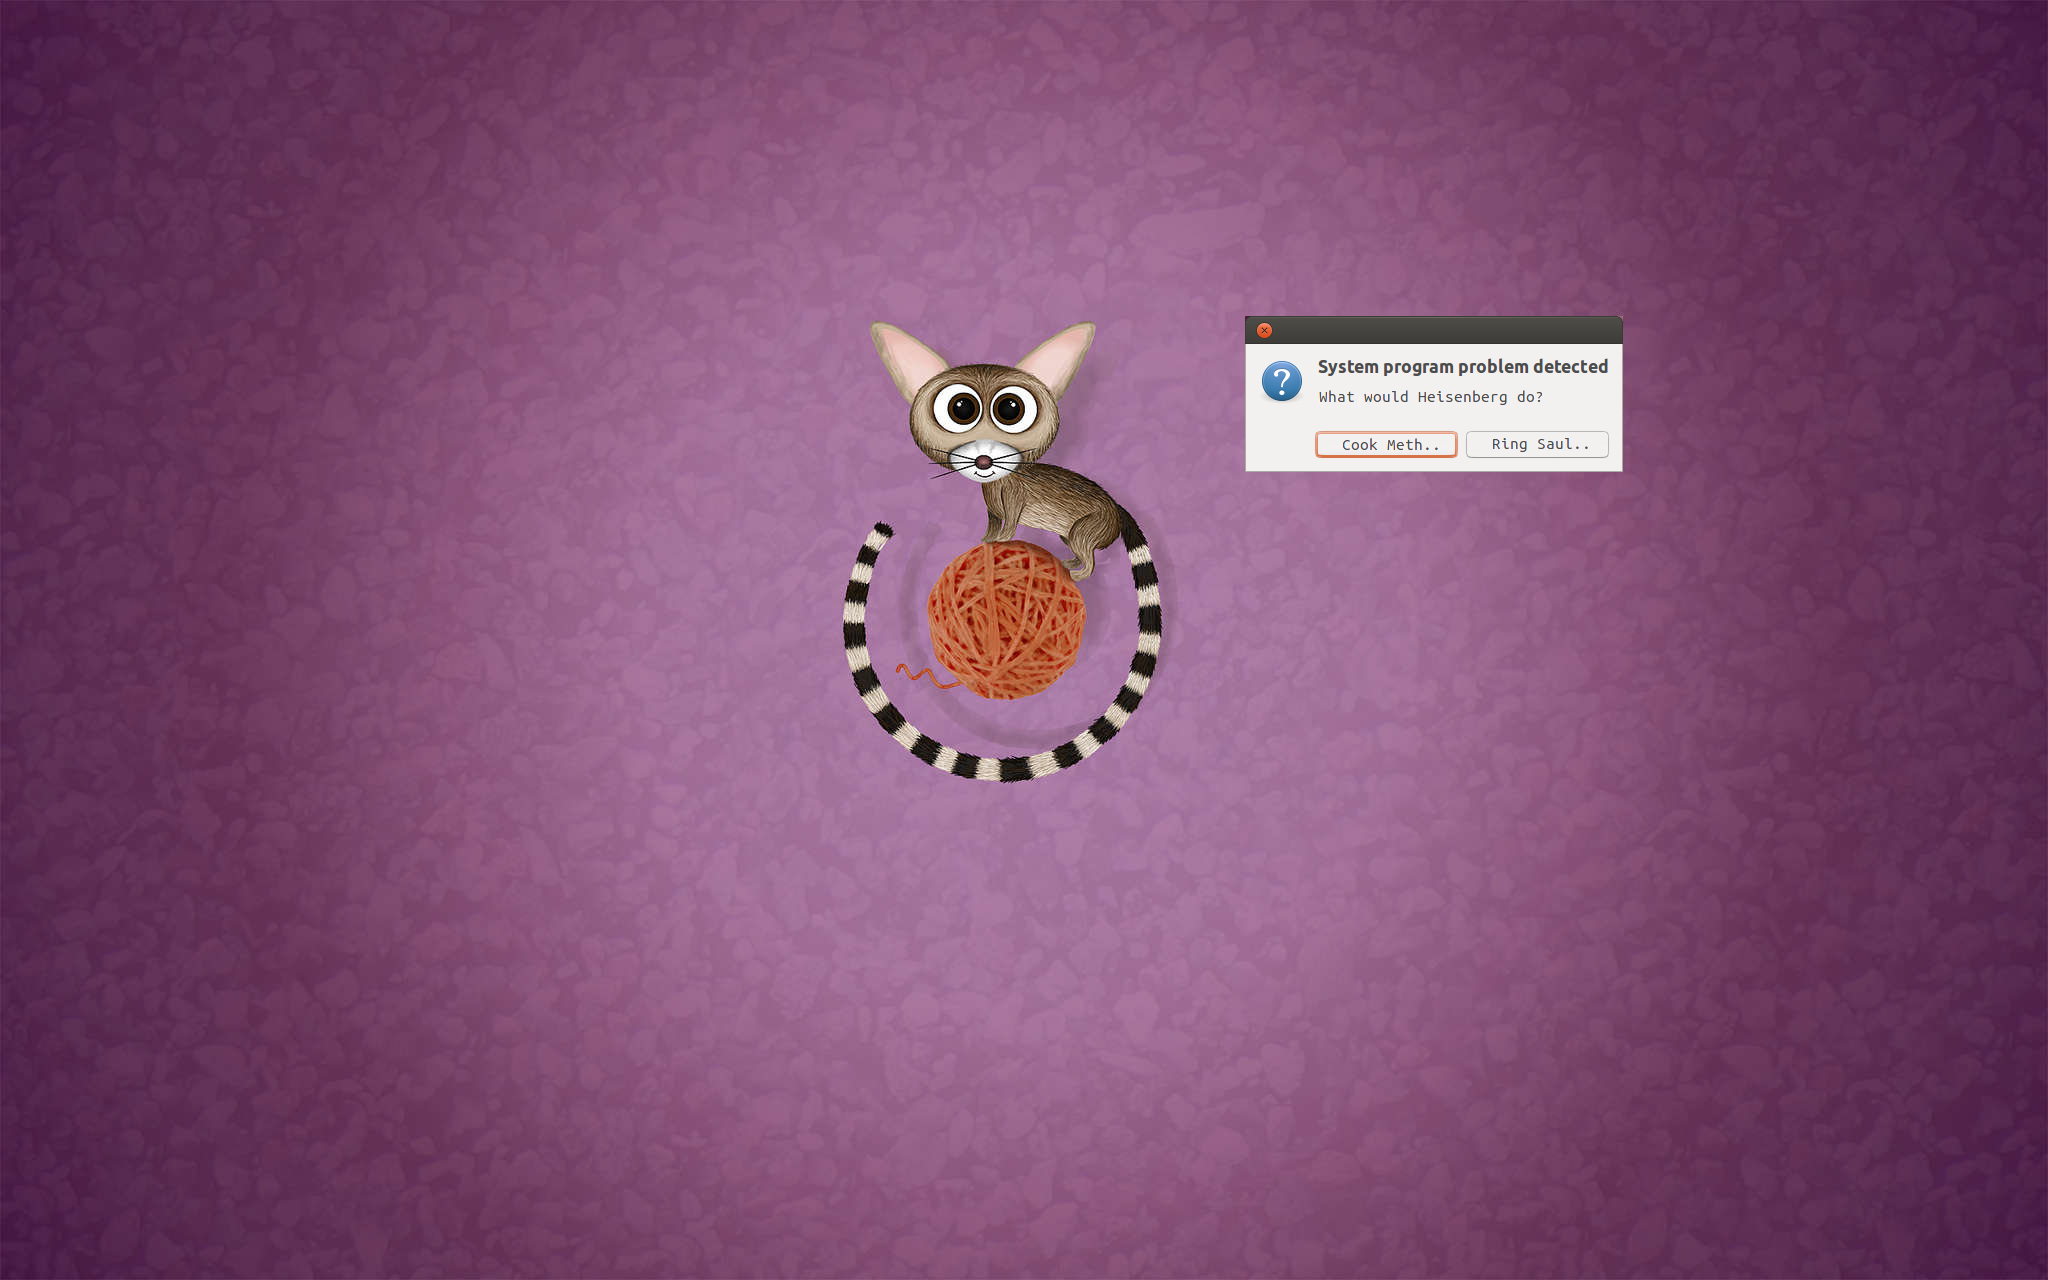
More shenanigans from the command line within Ubuntu; EASTER EGGS!
In the coming months, if I get wind of a heap of these, then I might dedicate Linux Easter Eggs their own page, but for now a humble post will suffice.
Go on, try these out in your Ubuntu or Linux Mint installation, you know you want to!
For the apt-get VS aptitude Easter Eggs, you may firstly need to install aptitude depending on your distribution’s bundled software. In the case of Ubuntu 13.04, aptitude is NOT part of the main installation (though it is in LM15), and therefore has to be added afterwards with either the Ubuntu Software Centre or (ironically enough) apt-get. For the latter, the following should work:
sudo apt-get install aptitude
Then, try this out to get started:
apt-get moo
Channel your inner bovine!
and to answer the age-old question regarding the difference between apt-get and aptitude:
aptitude moo
These guys are no fun..
and……
aptitude -v moo
If at first you don’t succeed..
and……
aptitude -vv moo
And again….
and……
aptitude -vvv moo
And again…
and……
aptitude -vvvv moo
And again…
and……
aptitude -vvvvv moo
And again….
and finally (after long last)……
aptitude -vvvvvv moo
And finally……
and continuing the apt-get VS aptitude (and to a lesser extent, ‘cows’) theme, here are a few more:
apt-get -h | tail -n 1
and…….not to forget:
aptitude -h | tail -n 1
apt-get VS aptitude
Within previous versions of Ubuntu (well, 8.04 at least!) there was also the ‘Wanda the fish” Easter Egg.
I downloaded and installed 8.04.4 LTS (Hardy Heron) within a Virtual Box VM just to test this one….
Open the quick-command ALT-F2 and type:
free the fish
and…….you will be rewarded with ‘Wanda the fish” swimming around your desktop for a few minutes, a la below:
Wanda the fish – Just above the task bar in between the Terminal and Run Apps.Free the fish!
Humorously enough, if you try the same stunt in 13.04 you are greeted with:
Wanda in Ubuntu 13.04…..Kill Joys!
In case you were about to ask; No, clicking on the file/application or otherwise interacting with it in any other way doesn’t illicit any response (that I have found, anyway!).
An old post by the creator of Life Hacker, Gina Trapani, regarding customisation of the command line.
I like to refer to it every now and then for inspiration (as a novice Linux practitioner).
I haven’t got the time for it specifically tonight, but I definitely would love to play around with Terminal/CLI customisation and post the artwork up here.
The link to the article by Gina is here, but until you get there, here is something to whet your appetite…
The source of the image below, and another great Life Hacker article is here (The Top 10 Command Line Tools)….
Inspired by the movie Inception, I thought that I’d have a go at getting three operating system’s deep with everyone’s favourite free VM generator, VirtualBox!
Below is a screen-capture from my system running three flavours of Ubuntu deep.
My specs are: Late 2012 (10,1 Model) MacBook Pro Retina 15in, Intel® Core™ i7-3720QM CPU @ 2.60GHz × 8, 16gig RAM, 512gig SSD: Running Ubuntu 13.04 x64 (on its own partition).
The stunt: Ubuntu 13.04 with VirtualBox running Linux Mint 15 XFCE; running VirtualBox which in turn is running Lubuntu (rather slowly).
Powered by Linux & executed by VirtualBox.
Next time I get really bored, I might try going deeper, but I will really need to plan out the resources granted to each VirtualBox VM.
For this example I think I granted 10gig RAM to Linux Mint, and 2gig to Lubuntu, but doing anything within Lubuntu was like wading through molasses (in snow boots).